Showing posts with label tutorials. Show all posts
Showing posts with label tutorials. Show all posts
Friday, June 27, 2014
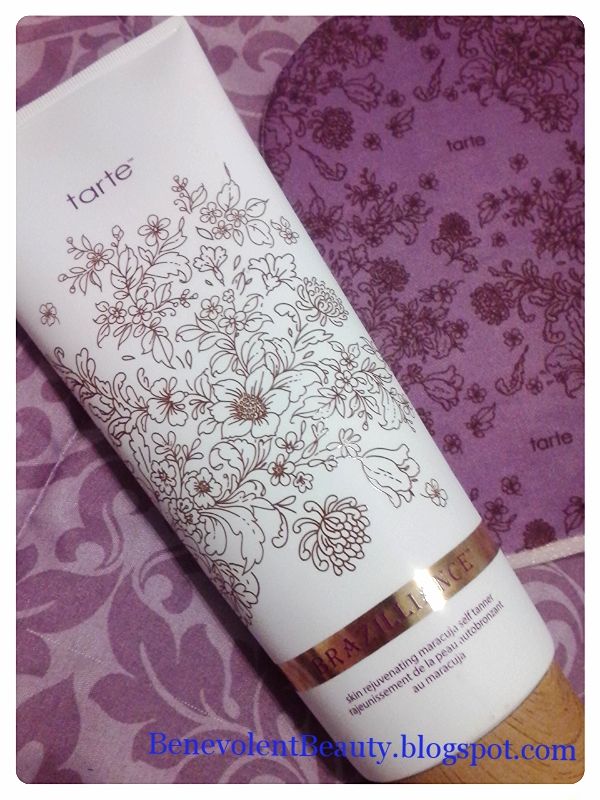
Tutorial: Self-Tanning Fixes 101
Saturday, May 17, 2014
Tutorial: Neutral to Night Out
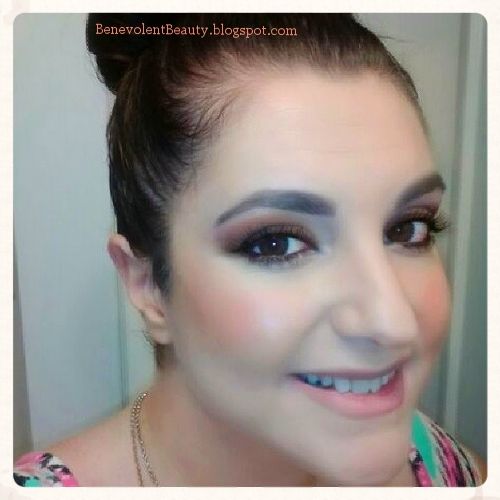
You already know how versatile makeup is. You can easily go from a soft daytime look to something more dramatic for an evening out. We all want to amp it up a bit for a night out on the town, but have you tried neutrals at night? Neutral... The word doesn't exactly stir visions of sexy smoky eyes, but try this look out for yourself and you may just be pleasantly surprised.
Step 1: Foundation
Any good look begins with a good foundation. I have seen my fair share of fashion magazines trying to convince women that "a dab" of concealer is all you need - false. The reality is even supermodels wear a full face of foundation, or enjoy the glories of Photoshop. Your skin produces oil naturally, and environmental factors can dry out your skin; all of this can be controlled by foundation. Foundation suggestions? LORAC Cococin' Cream Foundation, Bare Minerals Original Foundation, or The Body Shop's Oil-Free SPF 15 Foundation
Step 2: Base Shadow
Once your foundation is set, select your eye shadow palette. Since your eyes are the focal point of your face and, therefore, your makeup, starting there helps you build the total look. Prime eyes with your favorite, pre-shadow primer. My current favorite? NYX HD Eye Shadow Base (did I mention it is under $10? Bonus!).
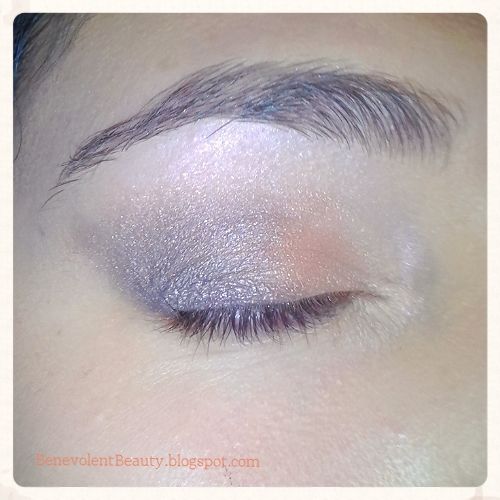
Select a shimmery neutral shade, something to add light to your eye without heavy glitter. I'm loving Pacifica's Duo 1:
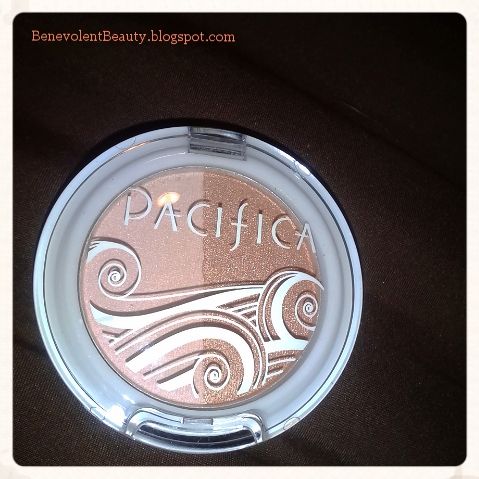
Swipe the lighter shade from the inner corner of your eye all the way along the brow bone, blending with a soft brush toward the outer corner. Next, apply the darker shade across your eyelid.

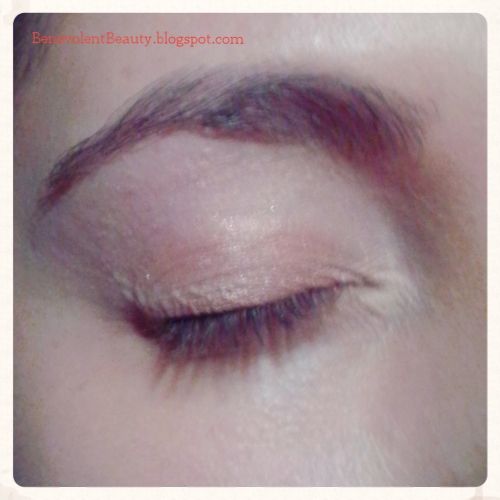
Step 3: Eye Shadow
Any shade from copper to dark chocolate is in the "neutrals" family and can be a part of your nighttime look. I chose two shades from Urban Decay's Mariposa Palette: Rockstar, a purple-based dark brown, and Gunmetal (don't forget to go to your Naked palettes for other choice shades).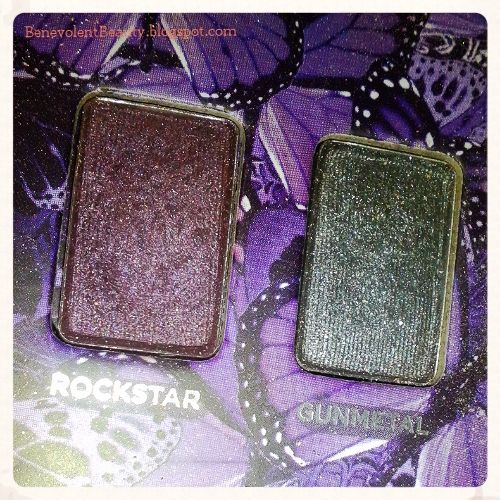
Step 4: Liner, Mascara, Brows
No look can be complete without a swipe of eyeliner and mascara. Urban Decay's 24-7 eye pencils are soft and smudge-able, making it more difficult to mess up a smoky eye liner. Simply drag the pencil along your upper lid, staying close to your lashes. Use your fingertip or an eyeshadow sponge to gently smudge the liner. Next, add your favorite mascara. Start at the root of your eyelashes and wiggle the brush upward to the tip of lashes. Don't forget to comb your brows and set them with a brow gel (colored or clear depending upon your preference).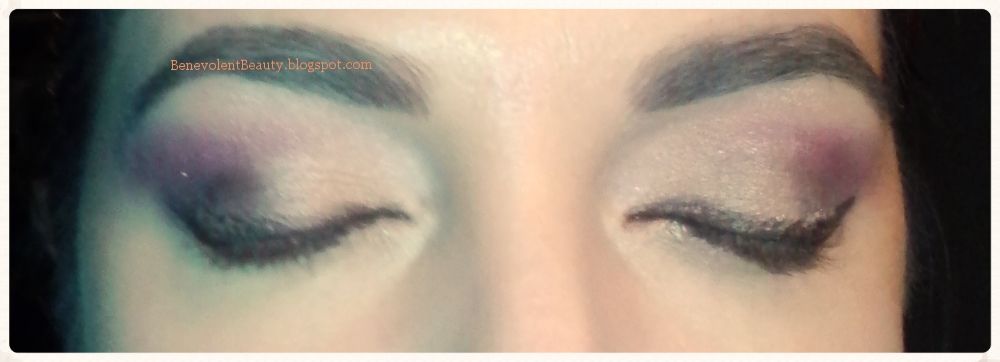
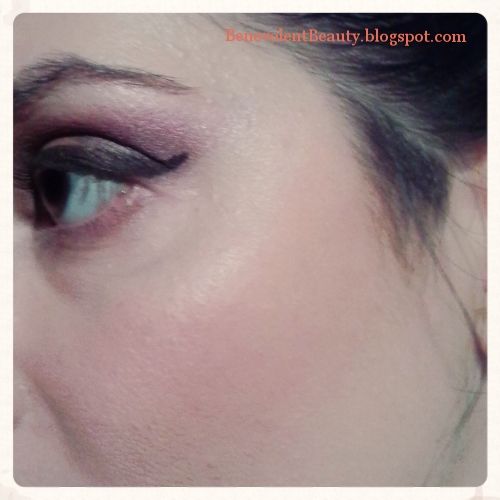
Step 5: Bronzer
A woman who loves her makeup cannot live without a matte bronzer. These beautiful creatures add color and are perfect for contouring. Too much shimmer in a bronzer can draw attention to enlarged pores and fine lines whereas a matte bronzer draws attention to your cheekbones. I'm loving Too Faced Chocolate Soleil Matte Bronzer. Suck in your cheeks and find the angle of your cheekbones. Brush your matte bronzer along this angle, which is below the apple of your cheeks (the apple is that wonderful, pinch-able part of your cheek that is front and center when you smile). Blend upward toward your hairline.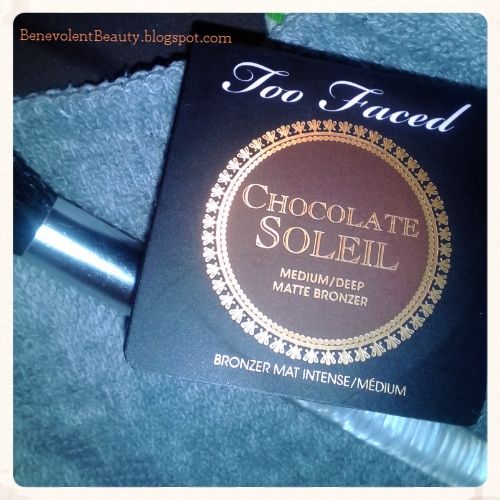
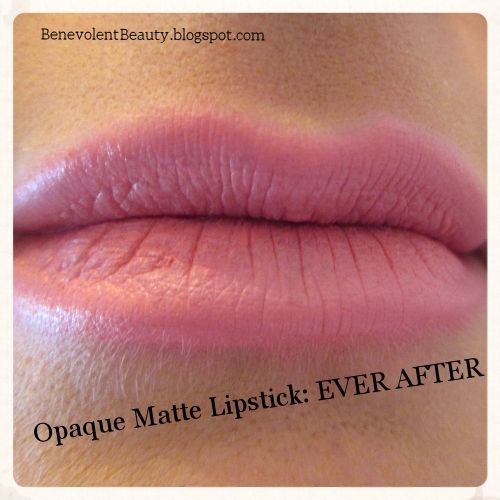
Step 6: Lips
Apply a neutral gloss or shimmery lipstick in a neutral shade. I used Impulse Cosmetics (see my review on these lipsticks) Opaque Matte Lipstick in Ever After. Voila! Your look is complete!All of the angles you added will give you a quick face lift and add subtle sheen that won't age you. You can experiment with the shades you already used and lighten your hand for daytime. Now, bust out your favorite neutrals and get your night started.
Tuesday, May 13, 2014
Review: Impulse Cosmetics Lipsticks
The moment I saw bold, bright, matte lip colors come strutting down the runways early this spring, I was sold. From neon hues to pretty pastels, there were colors galore and colors to suit everyone. I suddenly wanted to try every possible shade, but found many mainstream brands just hadn't caught my rainbow fever and were playing it safe with bright pinks and peaches. Enter the wonderful world of "Cult Cosmetics" - the relatively unknown but much loved cosmetics lines available for sale online.
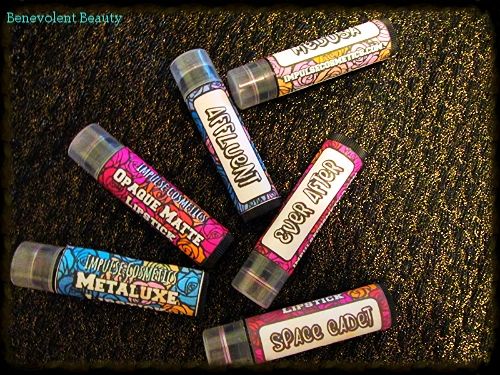
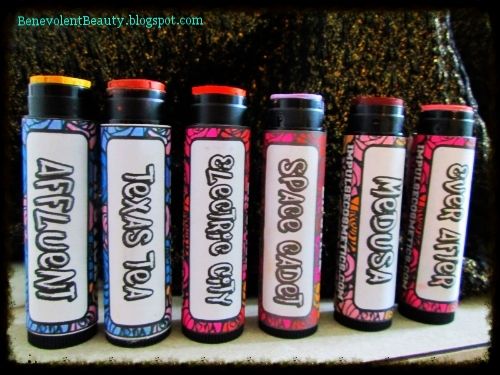
One of the first "Culties" (read: my word for internet cosmetics brands you need to know but haven't met yet) I came across in my search was Impulse Cosmetics. Based in Pennsylvania, PA, Impulse Cosmetics offers a range of products from matte and metallic lipsticks to eye shadows and glitters. The Impulse Cosmetics shop on Etsy boasts almost 4,000, 5-star reviews and over 16,000 happy admirers. Of their 30+ lipstick shades, I purchased 6; 2 from their metallic finish, Metaluxe line, and the other 4 from their Opaque Matte Finish line.
The Colors:
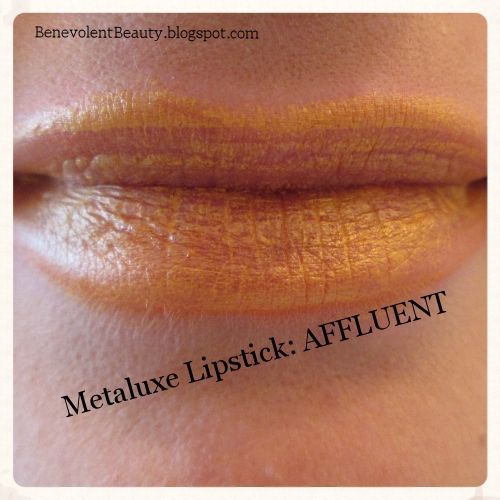
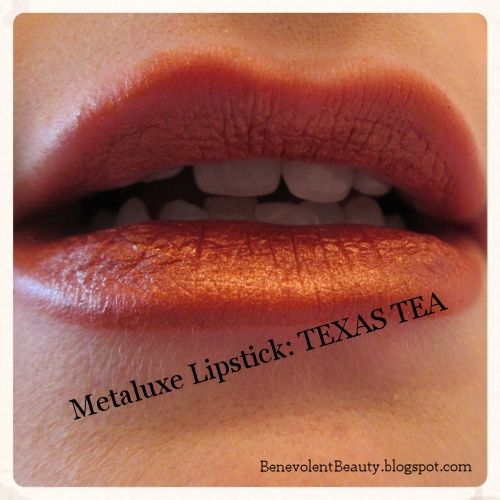

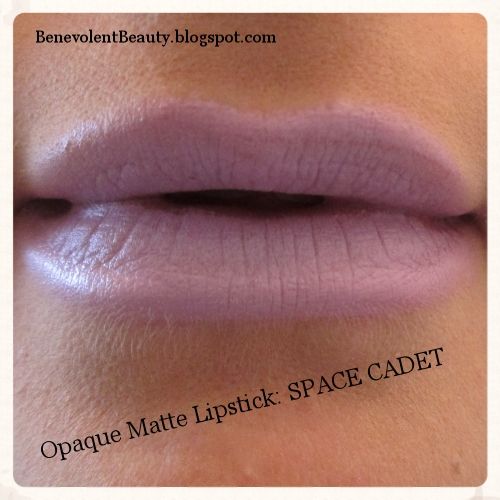
Note that all photographs are not Photoshopped or filtered so as not to alter the colors shown. In addition, all photographs were taken using natural light at the same time, in the same place, to give you the truest possible depiction of the shades.
The Pros:
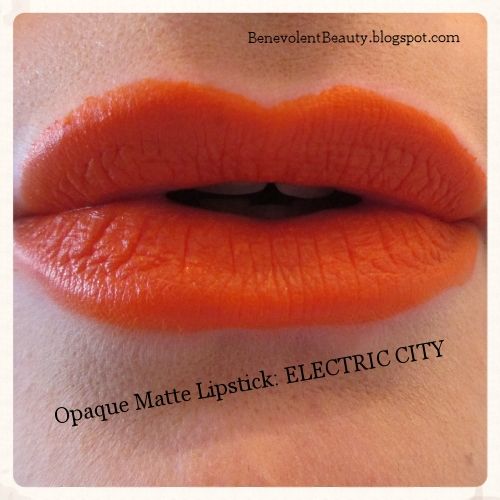
These vegan lipsticks, whether metallic or matte, apply smoothly right from the tube with minimal drag. They don't feel excessively dry, and they boast a long wear time - "TEXAS TEA" lasted me an entire dinner without reapplication. These babies pack major pigment so brights are very bright and pastels are very pastel. BIG color payoff! Another plus? At under $7 a tube, you can afford to try several shades without breaking the bank.The Cons:
As with any matte lipsticks, dryness and peeling can be an issue. This is actually one of the least drying formulas I've tried, however. If you're a girl who loves fancy, girly packaging to your beauty products, you will be disappointed with the very basic, very homemade plastic tubes these lipsticks come in.Application Tips:
At first these super-pigmented shades can seem a bit daunting as they are opaque and don't have the shiny, glossy quality you may be familiar with in lipsticks. For the best, most even application, exfoliate your lips prior to application (I use a warm, wet washcloth and simply rub in a circular motion until dry skin is removed). If you have a lip primer you love, use it. Have trouble with lipsticks that bleed or settle into fine lines around your mouth? A clear lip liner, or lip liner in a similar shade, would work wonders with these lipsticks. Unfortunately, Impulse Cosmetics does not offer lip liners in corresponding shades at this time.The Bottom-line:
I have had a lot of fun with these colors and at such a reasonable price, I can play with runway-worthy color. Impulse Cosmetics ships in safe, durable packaging and all orders come with tracking information. Although Impulse Cosmetics seems to be swamped with orders at this time, the 4 to 7 day turn around time is reasonable in light of all this seller offers: high quality, highly pigmented, cruelty-free cosmetics in a wide range of colors and finishes. Trust me, you'll be glad to add Impulse Cosmetics to your beauty routine.Impulse Cosmetics can be found at: Impulse Co on Etsy.
Subscribe to:
Posts (Atom)